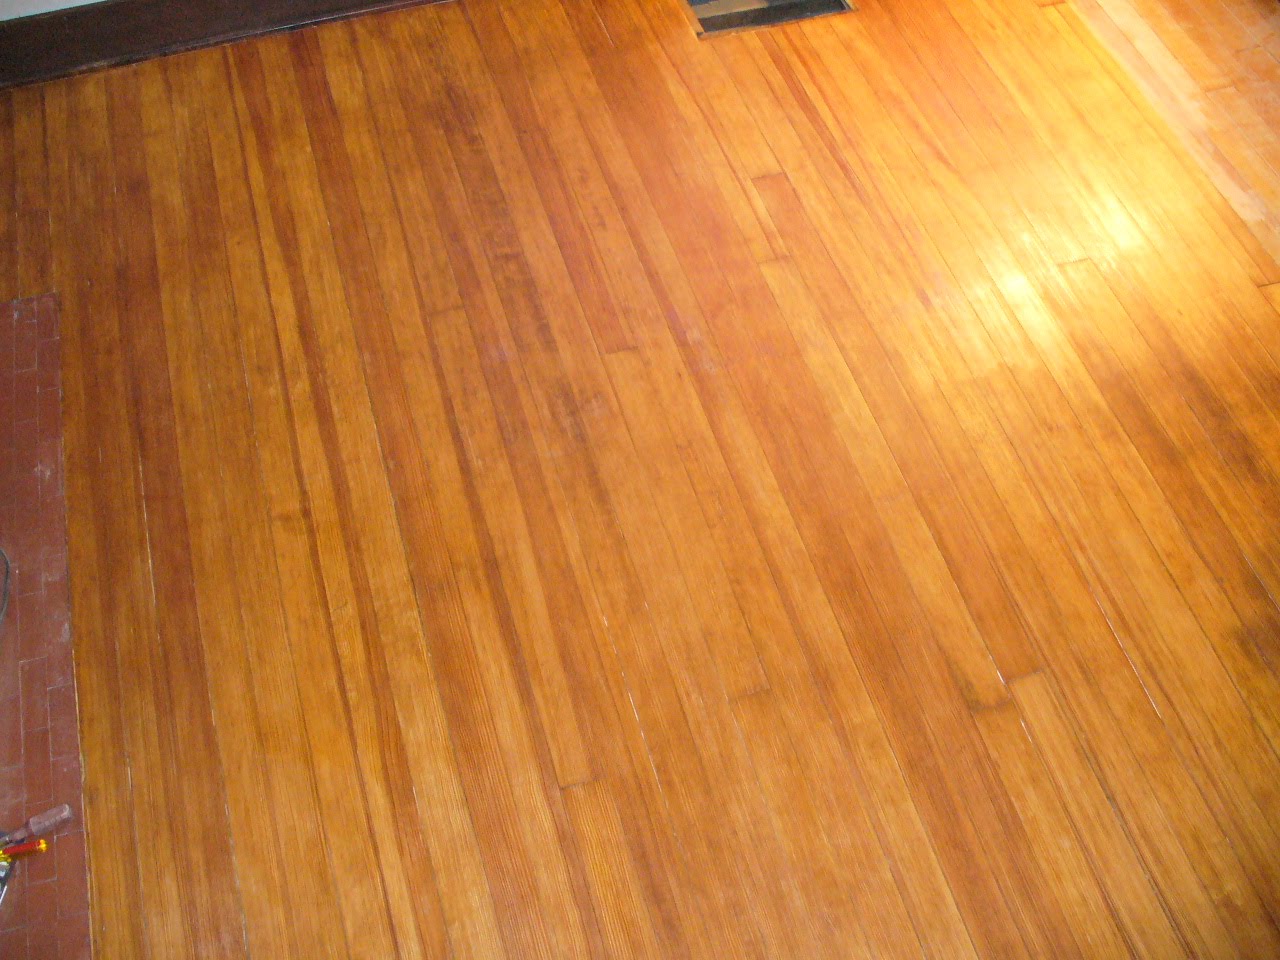
OK, I started this post a while ago and have not gotten back to finish it! I have been embarrassed to admit not only am I still working on refinishing the first floor but I am also still only on the first square! No more!
I was definitely procrastinating on finishing the section because A: I would have to decide a color. B. I was afraid I would completely mess it up (umm, anything would look better than before) and C. Me being the only one working on it was a slow process. Mark now feels pretty confident he can help so the next sections will be delegated and hopefully move along a little faster??

Pine is more finicky than Oak so I was informed by the Minwax pamphlet I should use pre-stain.
I know they say to test in a corner, but where? I tested right in the middle because chances are we will have a rug. The test spot blended in anyways so it didn't matter. The brush was ditched as it just smeared both the pre-stain and the stain around on top. I used an old sock for the pre-stain and then a different sock for the stain.


Yay, it's getting finished. Ironically (is it irony? I've been confused about the definition since I heard Mark arguing with Alanis Morisette) I used oil based Golden Oak to add a little brown/red and get rid of the yellow pine raggy basketball court look it had going on.

Previous refinishers (circa 1970?) not only took a good 1/8" off the floor with their sander but they also decided to fill each crack with filler of some sort. I'm going to take a guess this was a very tedious process and all it did was make the cracks wider since the wood still needed to expand and contract. It also left nasty white streaks in between the boards where we had sanded/it had fallen out.

This is where all of those hours of art class finally pay off! I somehow managed to match the wood color though even a generic dark brown color would look better than the bright white.

The floor completely finished but no polyurethane yet.

The first coat of polyurethane came out really splotchy, shiny and gross. At this point I was thinking the floor was going to look worse than before and it made me sad. But I know myself too well and decided to keep on going since I obviously can't stuff this project in the back of my closet unfinished!

The paint brush worked perfectly for the polyurethane. Dad left the brushes and I figured they were special pricey brushes for this project but he informed me yesterday he just picked them up at the dollar store. Four coats of polyurethane and I did not have to pick out a single bristle so note to self: dollar store brushes work better than $15 brushes.

The final coat of polyurethane still wet. I used semi-gloss so it is not this shiny. I tried getting a dried shot but the lighting was bad. The color and finish evened out as I had hoped. My goal was to freshen it up without losing the character the wood had gained over the years. The previous owner's dog left behind a little more character than I would have liked but the floor does look better than before.
 It looks really too gray/beige on the sample. My first choices average $40+ a sq ft but if I had that much money to spend on flooring I would be blogging about redoing a house down the block which was twice the size of this house.
 But I do have the remains of an original tile from my parents for comparison and it is almost exactly the same color. I don't know, maybe it is the bright white grout which makes it so dark? Whatever the reasoning, I think this tile with a black hex flower pattern and dark grout is going to look amazing compared to the circa 1981 carpet.