
This was the chair last summer which I wrote about here
and here it is finished!

I had been wanting to try my hand at some reupholstering but the only project I had was my grandparent's couch and I didn't want to start with that!
The first step was to kick off the cat.

(don't worry Cammie. You can have the gross fabric when I'm done)
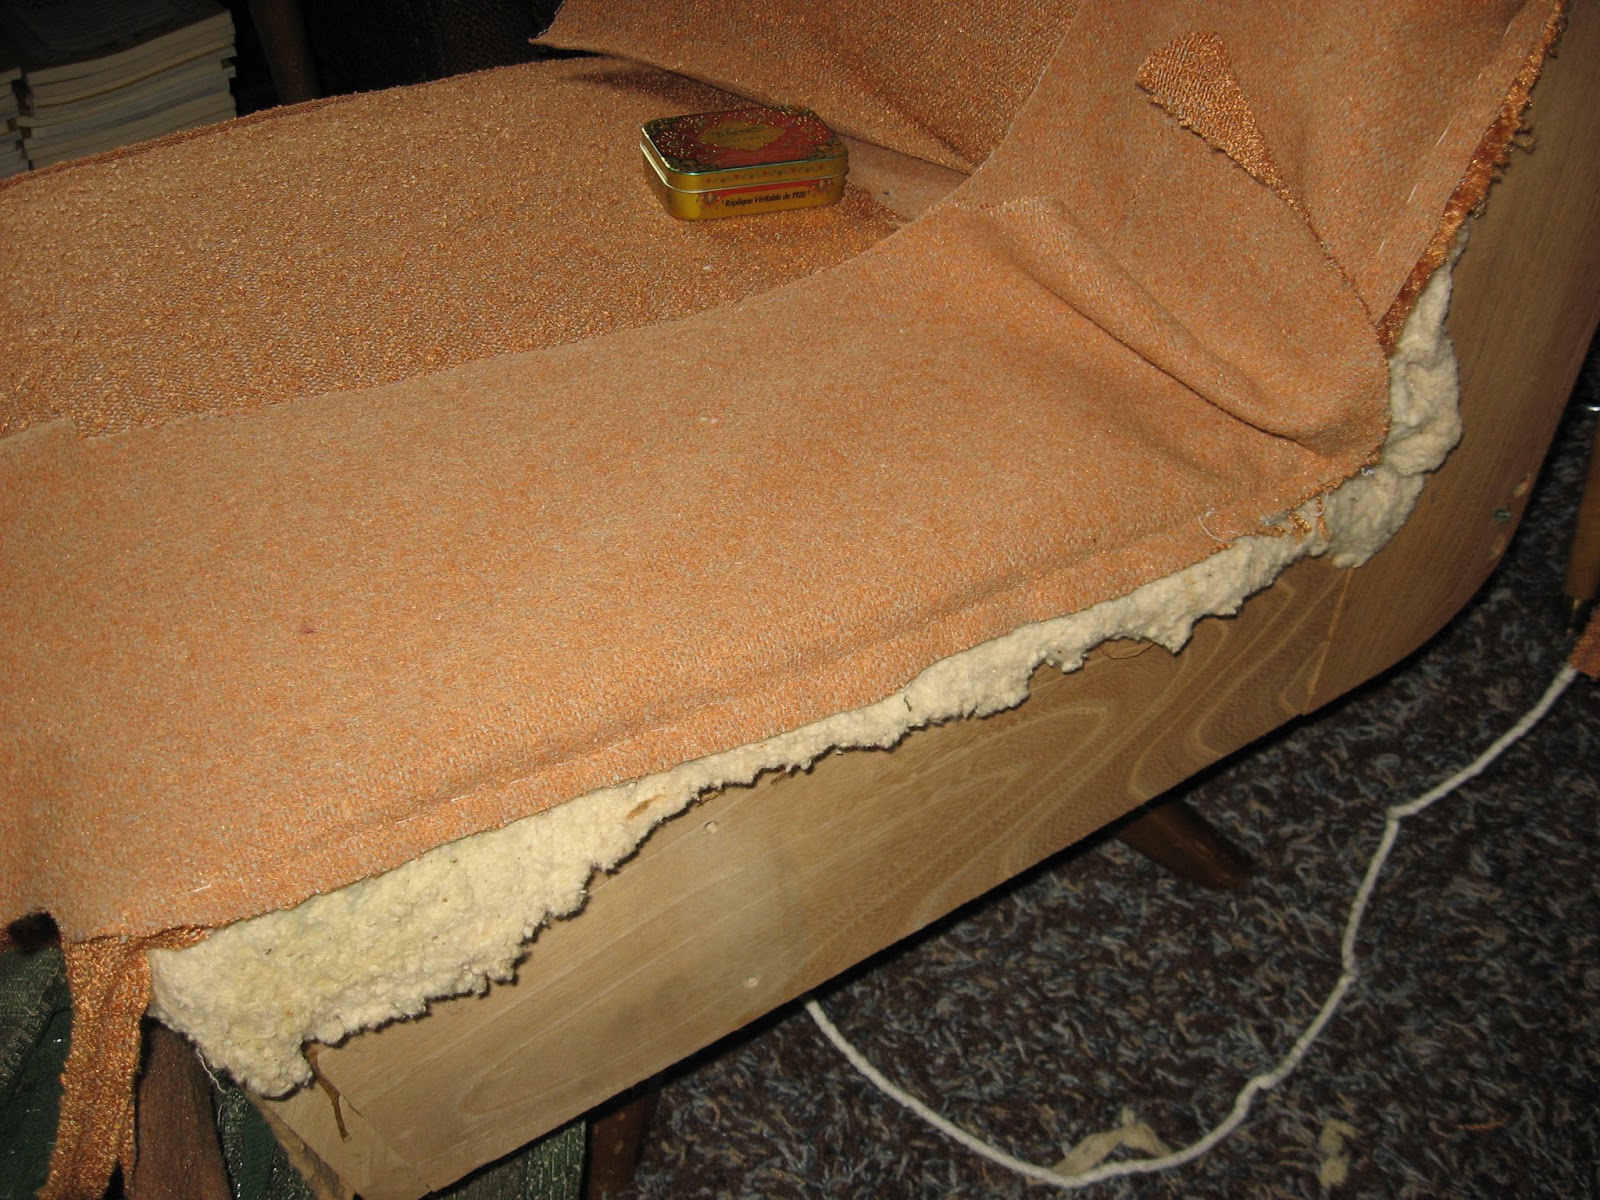
Since I had never done this before I started out by carefully photographing the various seams and folds as I took off the old fabric.

After the old fabric was off, I used it as a pattern for the new fabric.

(after taking this picture I realized the 2 top side pieces should be sideways. The fabric needs to run the same direction on all of the pieces!)

I started with the piping first since that looked easy. And it was. Joann's had the blank white cord and I just used the quilting foot (which is super skinny) to sew my matching fabric as close to that cord as possible.
I was nervous about the seat and back but with some pinning and basting it was easier than I expected. Of course with the piping and 2 pieces of upholstery fabric it was too thick to do on my machine so I had to sew it all by hand. Meh, I was 8 months pregnant. What else was I going to be doing?

When this was all done it formed a kind of slip cover over the chair.

To make sure the side pieces were extra tight I stitched them after a few of the staples were in place.

The staples were fun as I could really start to see the finished product and it was actually looking nice!

Oh Cammie. You're doing it wrong. Silly Kitty.
The buttons were next. How was I going to manage those? I measured and guessed and measured some more and amazingly it worked!


I just covered over the old buttons with some new fabric. They have metal tabs on the back which fold out so I popped them into my marked locations and opened the tab back up.
Hmm, it appears I did not take any open photos of the back of the chair so here is one with the old upholstery.

(You can see were the metal tabs are for the buttons too)
Once I was to this point I had to figure out how to get the final piece of fabric attached.
They were a little bent but fortunately I saved the original nail strips for the sides and fortunately the fabric easily attached. I pulled it tight and nailed it in place. The top I stitched in place and the bottom stapled to the underside.

I'm sure I didn't do it the easiest way and probably not the official correct way. (If there is a correct way to reupholster a piece of vintage furniture?) I did surprise myself and it came out looking almost professional.

Now if I could get my curtains made! Yeah, I know but the tension went out on my sewing machine. This has happened before and it usually somehow fixes itself if I don't use it for a few months (don't ask why or how!) so it is about time I try to use it again. At least there are shades but the curtains explain my chosen green and orange color scheme.
and a side note - my 1930's Mickey Mouse tea set and table will be leaving the room as soon as someone becomes mobile! A safe place will be found which sadly might be my closet again for a while.
Nice job, it looks really good. I still haven't reupholstered our new-to-us Morris chairs.
ReplyDeleteThanks! :o)
ReplyDelete