Showing posts with label living/dining room. Show all posts

Friday, March 27, 2015

The Billy Corner is Up!


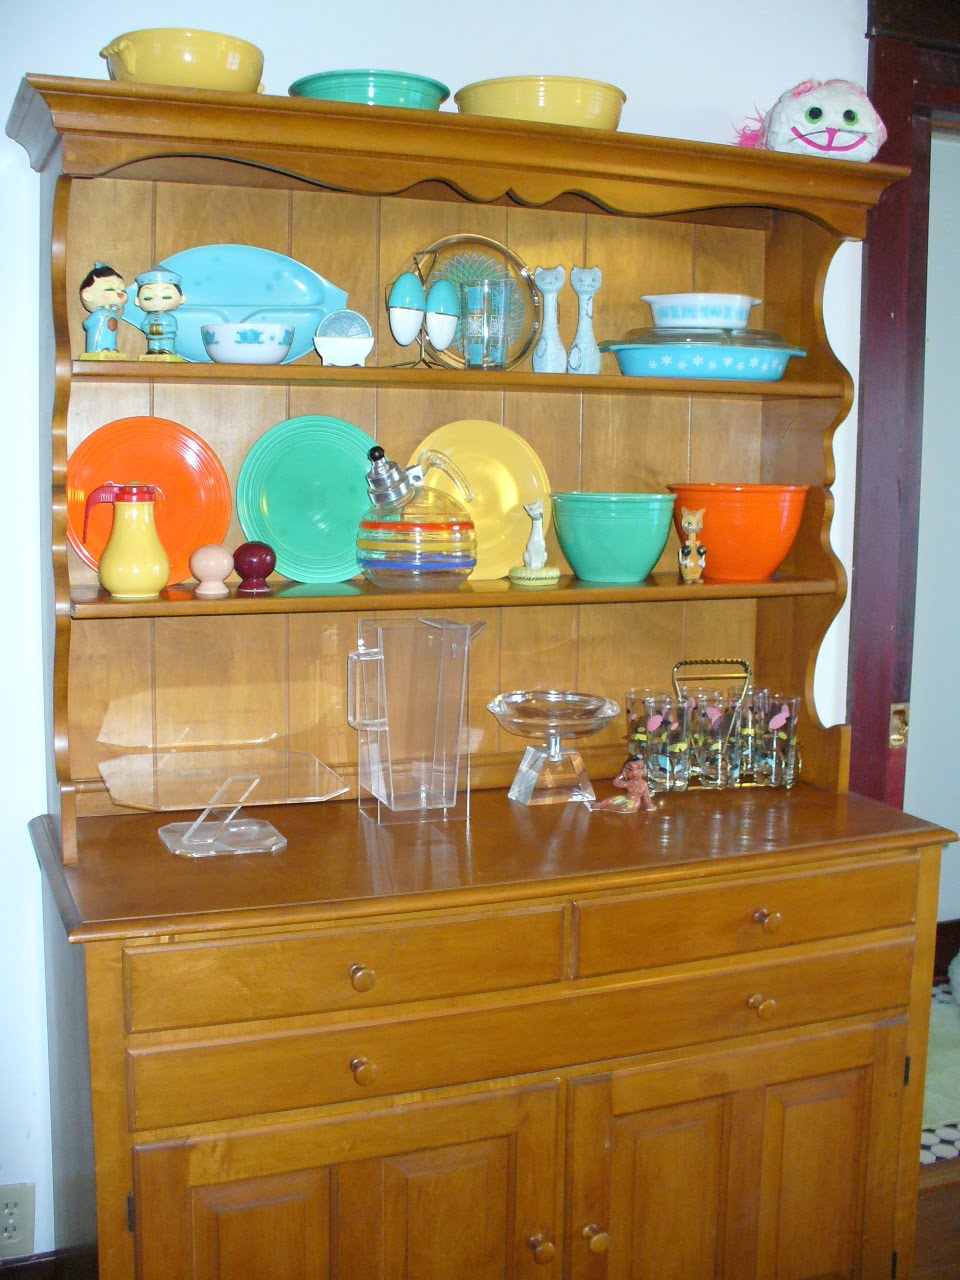
I've had this corner officially painted and these guys in for over a week now and am trying to decide what to put in them. Mark said no trolls but that isn't much of a problem as I have plenty of other things! The trick is deciding what. I am also thinking I need to slide some white wallpaper in the back of the shelves because they are so dark. Something else to add to the project list. Yes, these are Billy Bookcases from Ikea. Yes, feel free to make fun of me because I like Billy Bookcases.

We just got an Ikea in the Kansas City area last fall which is an easy day trip for us. Yay? My aunt lives about 10 minutes from the Colorado one so I have been spoiled by leisurely making my way over on a Tuesday morning and then maybe hitting it again Thursday or Friday afternoon. You know, barely anyone goes to an Ikea in Denver on a Tuesday but apparently it is THE place to be in KC on a Saturday. Yikes! and it is small. Small for an Ikea.

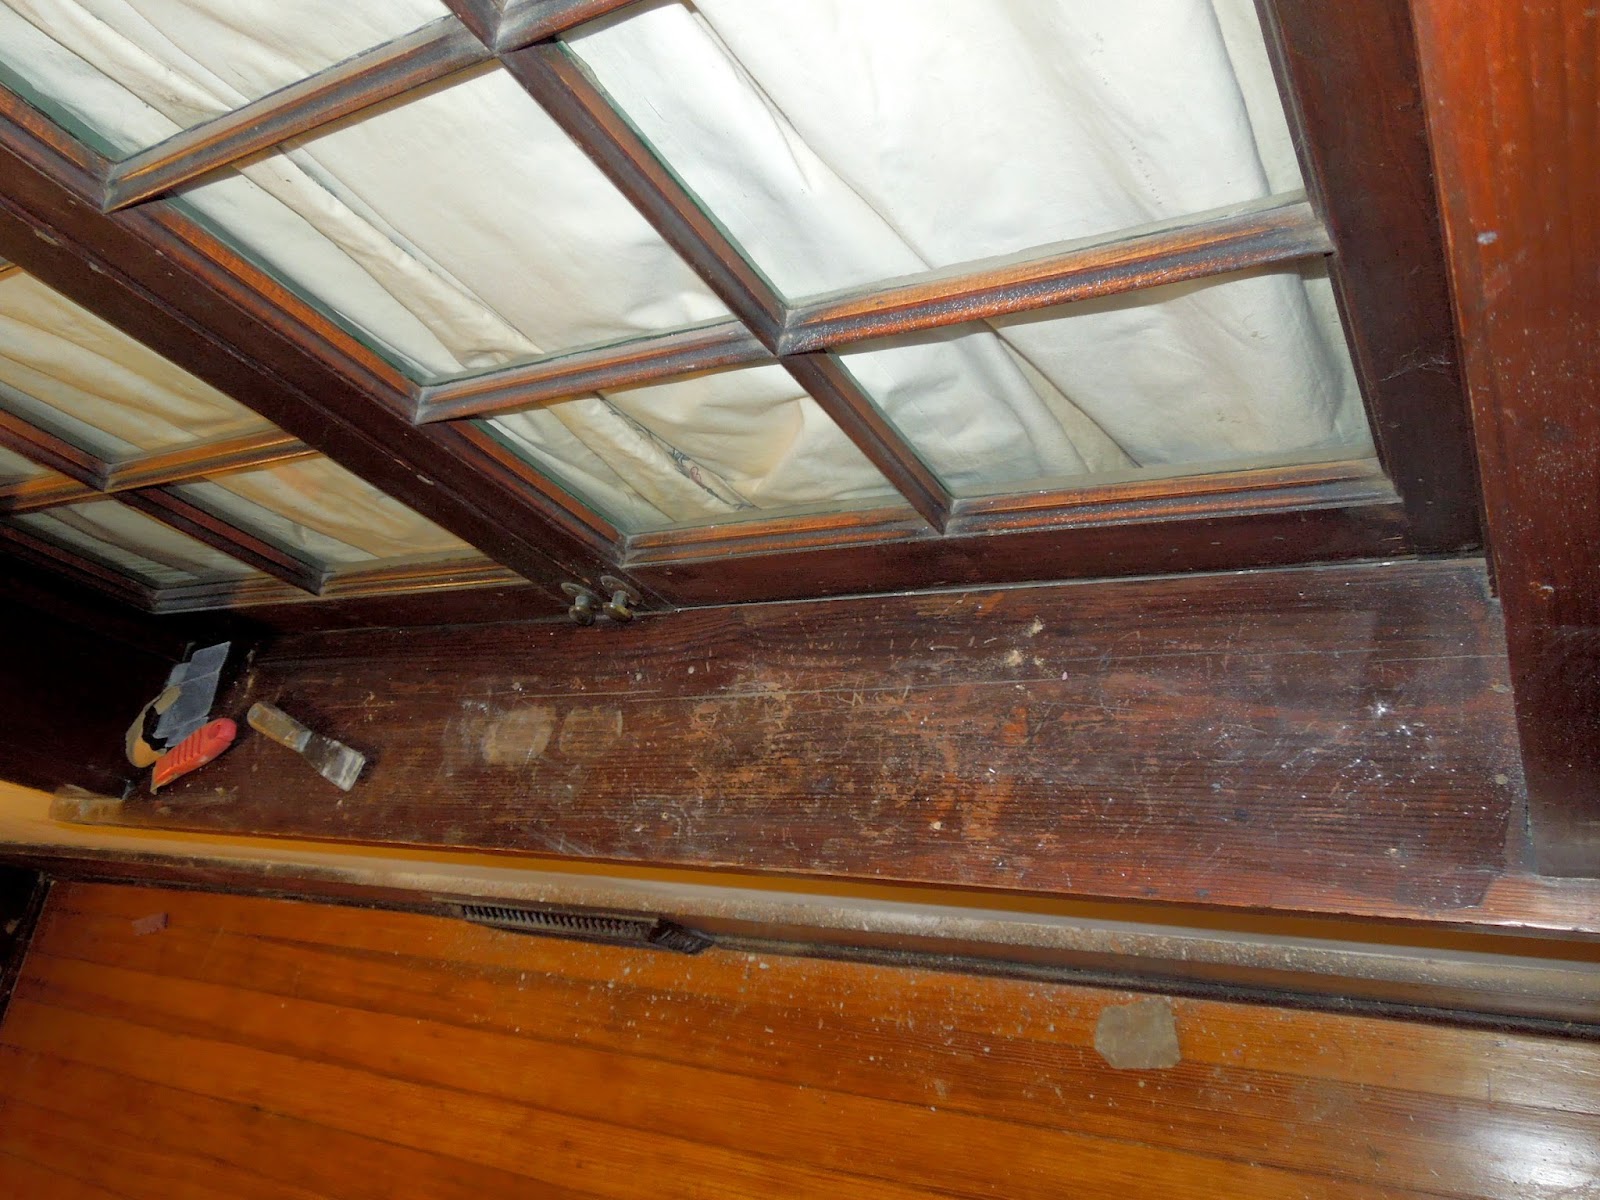
The before shot of the corner:


and then painted and stained with lots of weird shadows on the window:


Wednesday, March 11, 2015

Waiting for the Stain to Dry

This section of wall is FINALLY almost to the easy part of painting. I have to layer the stain on thick to match so it takes a couple of days to dry to my satisfaction and then I can polyurethane and paint. A few before and in progress photos:

Yep, looks like 20+ year old masking tape on the bottom of the window sill to me! Also note, the paint is well past the masking tape and onto the front of the woodwork. Why did someone take the time to tape the edges if they weren't even going to try!? The paint scraped off just fine but that masking tape stuck tight. I just used my muscle (which isn't much!) and scraped until it came off. I suppose water and/or vinegar would have helped the process.

Next, above the tape:

Several plants? Drinks? had left their mark on the window sill.


Sanded.

The middle is still a little gloppy in the color as some of those weird stains were not going to come out without more sanding and only the soft sections of the wood sand. So, I either have a few dark stains or a wavy window sill. Which brings me to my next area of concentration. The woodwork by the door...

Bernie (previous owner's dog) or someone he knew, really wanted in and out ALL of our doors and this is the result around most of them. Someone tried sanding this out at one time with what looks like a power sander of some sort which took the soft (currently darker) wood away, leaving the lighter, harder portion of the wood. Bernie then probably immediately put these fresh scratches in but I'm not going to bother sanding them out. I hate changing out original woodwork but this piece is really messed up and gross so it is on my future project list.

Surprisingly, the scratches hid well. You can see the various wood heights on the grains though - especially up by the door knob! The door is another future project. Yes, I believe that is wood filler on the door. I'm telling you, this dog must have spent hours scratching on doors!

Sunday, January 25, 2015

Patio Door Wall

I am going to forget about the fridge corner at the moment and declare that from the door on, this wall is done!

I hung some random things on the wall during naptime today
 
and the shades have been on the door for a couple of weeks now. Yes, yes they do have to be cracked open at the bottom at all times. Why do you ask?
 
It's amazing how much more I like the door now that it matches the woodwork. Someone had stained it at some point but didn't put a finish on it of any kind so it was flat brown. I put polyurethane on it and the woodwork so it all has the same shine. It is a little different color than the original trim though they didn't use the best wood (the knots!) plus it is probably 70ish years newer.

Friday, January 16, 2015

Refrigerator Fail

No worries, my harvest gold fridge is still going strong. What we failed at was putting my monitor top fridge back together again.

I've had it out in the garage for a long time because I wanted to get this wall painted and didn't want to have to move and work around it. Well, this chunk of wall was finished before Christmas so I could put my tree here but now it was time to finally move my fridge to its rightful location. OK, I think its rightful location is the kitchen but the husband doesn't think it makes an adequate fridge size-wise...
The problem: The monitor top part has to be lifted up, with the freezer attached, and set into the top. My dad and another guy (both older) pulled it off and placed it into the van so I figured between my brother, husband and me we could get it. We knew lifting it straight up and over wasn't going to work so we laid the fridge on it's side, popped it in sideways and tried to lift. Nope, it was sliding out before we er, they could lift it. Now I'm thinking get the fridge at a 45-ish degree angle and slide it in. But what would one angle it against so it doesn't slide/completely squish it?
I was reading that when they originally delivered the fridge, they brought a special hoist to lift the top onto the fridge. Well, I don't think that is happening. In the meantime, my monitor top is resting beside the dining room table, amongst the Christmas décor.
I *think* my fridge is one of the smaller models so it's a good thing I didn't come across a bigger one! I just have to recruit a stronger guy or two to add to the mix and that should solve the problem.


Sunday, November 16, 2014

Nerdy Staircase Upgrade: Part 1

My dad was looking for a new woodworking project and fortunately I am his victim. To prevent him from making another coffee table-sized boat model case, I am allowing him to do something which I am a little leery about as it will be messing with original house parts.

This is  my staircase. I apologize for the bad night shot which highlights the dingy carpet.

See the opening to the right? I'm sure it is grandfathered in, but having a large opening with a 7 foot drop, level with the stairs probably is not up to code. The cat loves it AND unfortunately the small child also loves it which gives me a heart attack when I am sitting on the couch and am realizing she snuck up the stairs as she sticks her head out over the side giggling.

My dad came up with the idea of vertical slats filling the space. Not uncommon to staircases of the time so I agreed to his design but wanted to take it a step further because, why not? Anything to keep him entertained longer, right?

These are the original 1918 slats on my parent's staircase:
(I had to confirm with my mom that she was decorated for Halloween. The doll head case is the normal décor though...)
 
See, they have funky tulips! I didn't want to copy their funky tulips but I could only find a couple other photos of staircases from this time period with the funky designs. I didn't find any which caught my eye so I decided to come up with my own. It had to look like it was from 1915 but being the nerd I am, here is my final design decision and the test cut my dad did:
 
I think it has a nice Art Nouveau flower look to it, right? Is it obvious what it really is when it is out of context? I hope no one shuns me for installing this design into my 1915 staircase! But, umm, I really don't care because I think it is going to look fantastic!
 
Until next time, may the force be with you!
 

Tuesday, September 30, 2014

What Have I Been Up To Lately??

I wish I could say something exciting! But Nope! Same old, same old. Trying to keep up with normal household chores, a job, a two year old and after that is all taken care of I can accomplish bonus household projects.

I'm still working on the other wall (I swear I only get about 30 minutes a week in, maybe, so don't judge!) It's getting close. The plaster is done and I have been working on lightening the woodwork from it's flat, dark 1970's hue.


I got my obligatory fall patch of grass planted! My crabgrass patches are lessening.
I've been trying to organize the garage (another reason my interior is slow is my time is divided with outdoor projects at the moment)

I was happy to accomplish getting a cupboard hung up all by myself (I guess the husband contributed 3 minutes of hoisting it into position)
This was originally (well, 70's? original) in the bathroom. I pulled it out and being the hoarder I am, decided it would be useful in the garage. It has been sitting in the corner, on the floor of the garage for going on 3 years now?
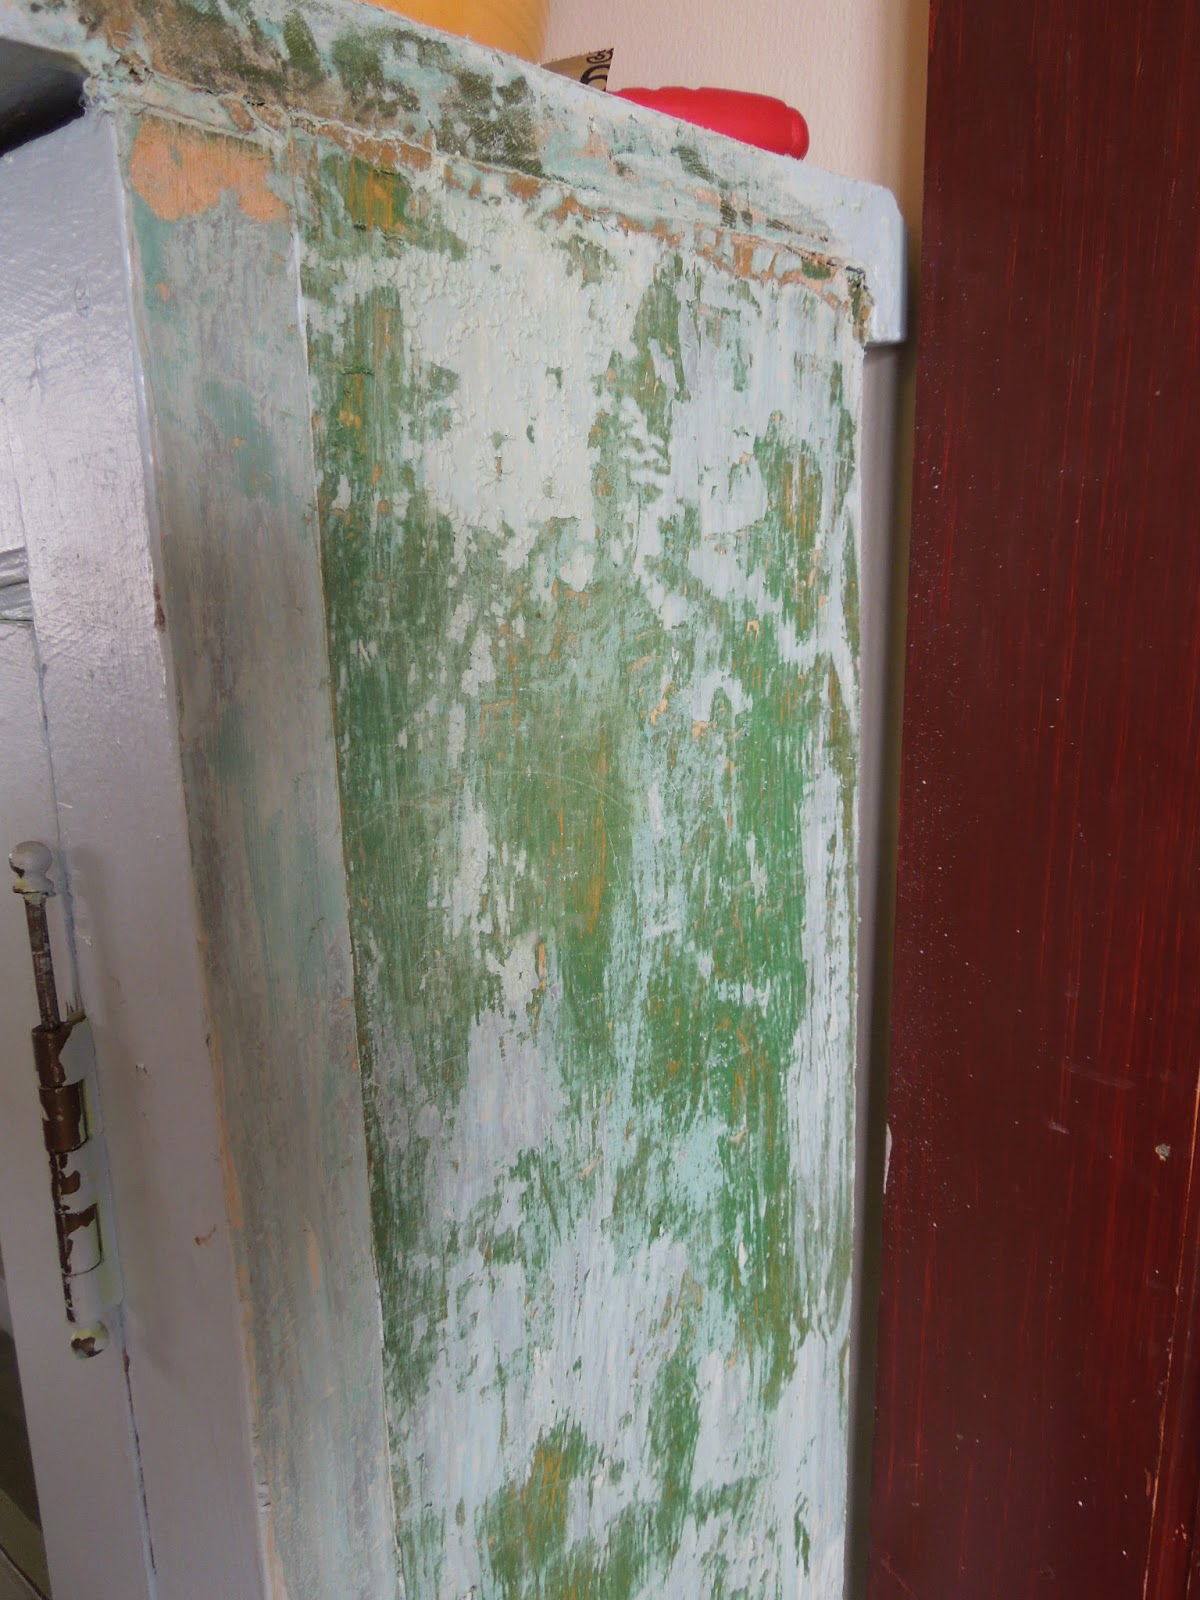
Here is how I originally met this cupboard. Hanging awkwardly above the toilet, hiding my clothes chute door.
Now it is holding my garden supplies. I cut a board where the clothes chute opening was in the lower right section. Tin cans fit nicely and they are free so my tools are hanging out in those.
Please Note: the DDT sprayer is for decorative purposes only and it is empty. I found it in my grandparent's garage with the directions carefully wrapped around it so I'm not sure it ever was used.

I have a small back log of posts stuck in my head so I definitely need to work on getting them out and onto my blog!


Monday, August 11, 2014

Instant Kitchen Cabinet

This hutch has been lurking in the corner of the dining room because I don't have another place for it!

I want to put it in a bedroom as it doesn't match anything on the first floor but I won't have a bedroom spot for it for a while. Now it officially has to move somewhere as I am working on that corner of the room.
The bottom part I can probably safely store in the garage but the top part is a little more precarious. I did some measuring and discovered it fits my awkward kitchen corner perfectly.

This photo shows the awkwardness of the wall (pre-move-in shot)
The upstairs plumbing and the (currently unused) clothes chute (clothes drop right into the basement toilet) and upstairs plumbing are behind the angled wall.

Obviously it would look better level with the top of the windows but I fear the whole wall would come down if I tried to hang something substantial from it without prior research of what is behind that paneling. Also my grandma would haunt me for drilling holes into one (of many) of her precious hutches!

I do like I can see my stuff now in the kitchen and it's not squished in the corner of the dining room anymore. 

Friday, July 18, 2014

One Wall Down!

Yeah, Yeah, I know I am going about this project all wrong. A normal person would do all the walls at once and probably the ceiling while they are at it. But, as mentioned previously, I only can work on this maybe 20 minutes a day? If I am lucky? So only disrupting one area at a time seems to be working though I will be dusting my already "done" areas frequently. Everything will have to get a good scrub down before I can say it is all officially done.

In progress shot. I really wanted to do some color on the wall, hence the blue splotches, but most of the lighting is from the north so I was afraid it was going to be too cave-like with dark blue and the light blue just looked weird. Mark and I were debating paint colors when Lucca went over to my paint sample collection bag, started sifting through it, grabbed a color, slapped it on the wall and then walked away. We both stopped, looked at it and were very amused at the fact we liked the color. It's Concord Buff from Home Depot and it actually is pretty close to what I think? is the original color which I have unearthed under several layers of cigarette smoke and mint green paint.

She did such a good job with the wall color I'm putting her to work early!
 
The only decision I am regretting is using an eggshell finish because I thought it would be good to reflect a little light off the wall. As you can see it reflects the light nicely and it looks great head on. However, if you look at it from a weird angle, with a lot of sunlight - such as the photo below:
 
It also looks really textured in this photo, which it is not.  I tried to touch up the splotches which resulted in weirder splotches. I ended up putting another coat of paint on the entire wall so it isn't this splotchy anymore but I can still see them when I'm at an angle. The moral of the story, any little bit of shine shows every flaw so I will be doing flat the next time around! This is the only wall which does a lot of light reflecting so it will hopefully be the worst offender.

Monday, February 17, 2014

Getting Plastered During Naptime

Yup, still workin' on the living/dining room walls. Once I get the usual chores done to keep the sanity around here i.e. a little vacuuming perhaps cleaning a bathroom, I'm left with some free time to work on this room which is maybe 45 mins. If I am lucky. This week I decided to try to work on this wall.

Note the holes where the broken circa 1970 doorbell was removed.
 
This is the supporting wall so it is particularly nasty as the house settled and then they jacked it up probably an inch or so at some point which resulted in:
Nasty stair step cracks all the way up and across. Previous owners skim coated the whole wall and surpise!? The cracks showed up again! So now I have to go through and gouge out their plaster and paint along the cracks so I don't end up with ridges along the wall. Then I slapped up a whole bunch of sticky mesh tape. This is just the bottom half of the wall. Can you see it in the photos? 
 
http://www.menards.com/main/building-materials/drywall/drywall-tape/500-fiberglass-drywall-tape/p-1443543-c-13061.htm
The label on my tape is long gone but this is the same type and also from Menards so it probably is the exact same thing. Will it keep the cracks from reappearing? Maybe. Maybe not.
 
Other delightful things such as nail holes and what I thought were plastered over nails but turned out to be plastered over hot glue? dotted the walls to be repaired.
 
For the initial sanding I do some wet sanding which involves getting the plaster sandpaper wet. I would recommend a larger bucket if you have time to do more than a 3 ft section at a time oh, and also maybe covering up the vent as it still makes a mess but a majority of the damp plaster dust falls on the floor right below rather than all over me and surrounding furniture.
A side note: Don't dump the plaster water down the drain! It seems to me it would eventually clog up the drain? I always dump it outside as plaster is good for the grass so bonus there.
 
This is about as messy as I get since it all has to be scrubbed down before the baby wakes up and starts running around so I don't worry about the vent since it takes about 3 seconds to pop off and vacuum. This wall is starting to shape up! I think the plaster patches are an improvement over the cracks anyways!


Tuesday, April 16, 2013

A Home Improvement Project?

What's this!? I'm working on a home improvement project?? It is true. I buckled down and ordered myself to stop going back and forth about what to do with the woodwork and start scraping. This will take me about 2 years so don't expect any fabulous before and afters any time soon! I have windows, (all of these are pre-move in shots)


bookcases with mantle,
 stairs,
doors and the ceiling beams (ugh!) Most of this was redone quickly in maybe the 70's?? Since that is when a major overhaul seems to have occurred. They chose a dark, dark, dark brown - typical 70's. I've been trying to brainstorm ideas of how to do this process without a total scrape and refinish but I dislike the 70's brown and I can't figure out any other way to get it to go away. I came across this photo and it finalized my decision that I wanted to rid this space of 70's brown.


I'm starting with the front windows.

The finish is basically black and dirty. Gross! 

The sills have been abused by kitties, water, sunlight and I'm not sure what all. Also, previous owners had plastic taped over the windows which took care of the finish up the sides. 

The sun is reflecting but the windows already feel cleaner even though it's just the putsy detail trim parts which are cleaned. The advantage of old crusty finish is it flakes right off with some light sanding so I already almost have 2 of the tedious window parts done.

Also, I started to strip the bookshelf (as seen here during Christmas)
Despite it never being painted in my lifetime, it somehow manages to have 12 coats of paint on it and this stinky emerald green is at the bottom, in the grain. I had visions of finishing this to match the woodwork so it looks like a real built in but we shall see about that one.

Thursday, January 17, 2013

Grandpa's Salvaged Magazine Shelf

This hutch has been in my dining room since we moved here:

One problem was it didn't match my decor. Wait, what does match my decor? I'm really not picky but I felt this was too cutesy Early American. The main problem: it was technically my brothers but (as you can see) I had it filled with my stuff. Inside and out. I tried not to fill it up knowing it would probably one day leave here but it just happened.
I wasn't trying to find a replacement for it so the bookcase kind of landed in its spot by accident. I wanted the bookcase to go upstairs but alas it was too long to even make it past the first landing much less around the sharp corner and through the awkward stairway door. I left it sitting in the middle of the entry area pondering what to do with it and was delighted when I measured and discovered it fit PERFECTLY between the bathroom and front door. So perfectly, that at first glance it appears to be an original built in. I have about 5,000 things I am finding which will look cute in here so I'm still working on the final arrangement since not all 5,000 things fit.

 (I swear I have the Christmas decorations off of it now)

This was in my grandparent's basement and my grandpa made it for his National Geographic collection. I did take some of his magazines so they are now back home on the shelves. Back in the 40's/50's he "salvaged" (took from the trash) the doors from one of the neighbors who was remodeling their bungalow which works for me because it fits right into my bungalow-ish home. I will try stripping it first to see if I can refinish it to match my woodwork but I suspect it is several different kinds wood which he picked up here and there. I almost feel bad changing the color because it has always been this color. That will be my excuse to not get to this proposed project for a while!

Monday, November 28, 2011

New Rug is Open for Business

Putting up Christmas decorations forces me to dust and organize all of those nooks and crannies which means I FINALLY have a somewhat acceptable photo to post of my dining room with that new rug mentioned several months ago!? Yikes! well, better late than never? I guess?

Yes, the washed out background is intentional to hide that patio door thing. Someday it will be windows once again...

Friday, September 30, 2011

Major Award

I ordered it so I think it is official and I can safely say I won a rug! Hooray! I will post a picture after it hopefully arrives but this is the rug I  have on order.

(Unfortunately this is Shaw's display room and not my living room!)

I found out about this rug through my favorite site I stalk daily,  Retro Renovation (even though my house is clearly 50 yrs older than most topics covered) I instantly pictured this crazy rug with my "new" dining room set from grandpa and grandma and wanted to go out and track it down for some price checking. 


Then I found out (also through this site) Shaw was doing a contest on facebook for free flooring so I was entering daily to see if I could win because, why not? Mark made fun of me for my diligent daily entry until I received an e-mail saying I won! I thought at first it was spam but the more I read and looked at the paperwork it looked real. I even googled the address they gave to make sure I wasn't sending all of my personal info to some sleazy looking house. I filled out the papers, sent them off and then I got to go to the store and pick out my new rug. It didn't take too long since I knew what I wanted. I think I did order it a size too big but the size smaller would have barely stuck out from under the table. Plus it is a free rug so why not get the more expensive one? It might end up in the living room if it's too big but either way it will end up under some of grandpa and grandma's furniture since the 50's couch is out there! I'm anxiously awaiting for the floor store to call and say it has arrived!