Saturday, June 13, 2015

Sandbox Time

I don't remember the last project my husband did, perhaps it was paint 3/4 of the house 5 years ago? Or maybe it was breaking the sink while trying to unclog it last weekend? Anyways, he is the first to admit he is not handy - which is fine with me because he lets me do whatever I want around here. When he said last weekend he was going to build a sandbox I was a little leery and figured I would have to figure out how to fix and finish it but it actually went rather smoothly.

We picked out some cedar wood. We actually found fence pickets which were the exact length we wanted (minus the 1/2" of picket at the top) and they were $4.97 a board.

I cut the top picket shape off  - neither I nor my husband trusted him to cut it straight.

The boards were sanded and then screwed together.

 We have a pretty square!


Come on dad! It needs more sand!
 
 While looking at other sandbox tutorials, I noticed most people put a board on the bottom. My dad just stuck this black garden cover stuff under my sandbox as a child and it held up a good 10+ years so I just went with that in our sandbox. Plus it is cheaper and way easier than measuring/attaching a bottom.

We'll be adding some corner benches for support but it's being used as-is for the moment.

 One thing I would recommend is leveling around the edges prior to filling with sand. Two of the corners were a little lower than the rest of the box so sand was threatening to escape. I did cram dirt under and level it that way but it would have been easier to do before! I also am not really crazy about the sand. Menard's, Wal Mart and Home Depot all had the same looking sand labeled "play sand" but it is really red and really pebbly. Menard's also had super fine sand for twice the price but I don't think that is really good to crawl around in either. The small child obviously doesn't care as it works just fine for sand castles!


Thursday, June 11, 2015

New Curtains!

Now that it is summer I feel like I have about 50 things going on instead of the usual 25! I did finally order living room curtains so this box should motivate me to keep plugging along.

 
The days (probably months) are numbered for my floral curtains!

Monday, May 11, 2015

1991 Called...

I don't have a clue when/where I will ever wear this but it was so fantastic and only $1, so what did I have to lose! (besides closet space)

I'm pretty sure I had a similar one when I was 10 though it was most likely cats instead of dogs.

This one fits me perfectly! hehehe

Thursday, April 23, 2015

Garage Sale Season is Upon Us Again!

I haven't done a "random stuff that is coming into my house" post lately. I guess it's been winter so no garage sales and I have been trying to avoid bringing "new" stuff into my house. With the warmer weather coming around it is nice to get out of the house again and garage sales are the perfect excuse! Along with the excuse of finding cheap clothing for the child. Unfortunately, I have managed to find her everything she actually needs for the next year down to a new coat plus some odds and ends for the next year and it's not even May yet! Darn it! Also note, I even try to make it a challenge and not pay more than $1 for anything - yes, the brand new winter coat was $1. I think the moral of this rant is: there is no shortage of cheap, cute, clean kids clothes so get out and save some money while enjoying some fresh air at the same time!

I would like to show you the Pyrex I have added to my collection since Christmas:

Oops, I guess I got a piece for Easter but yep, two pieces.

I did pick up this piece for $2 as I was itching to buy something to awkwardly sit on my counter until I find a spot for it add to my collection.


It is a "Made in England" piece which I did some quick research and the pattern is "Country Autumn." It looks like it was available here in the states in the mid-80's. Definitely has that 80's vibe and I like the brown lid.

I just about didn't even pick up these guys. In fact, I walked past them several times trying not to make eye contact with them or the Christmas table they sat upon.


They finally were successful at calling me over and when I picked them up I was surprised to see the Breyer mark on their leg.


I have seen plenty of Breyer horses but never crazy gold deer! Needless to say, at .50 for the pair, I had to bring them home. They are now sitting happily on my buffet and they don't give off a Christmas vibe on their own. At least the husband hasn't come to me scared about some of my crazy Christmas reindeer escaping from their box so they must come across as normal everyday décor, well, normal for me.

It sounds like there is a chance of rain here tomorrow so I haven't decided if I'm dragging myself out of the nice warm bed to venture out into the hectic garage sale world or not! I hope everyone has a great weekend!

Friday, March 27, 2015

The Billy Corner is Up!


I've had this corner officially painted and these guys in for over a week now and am trying to decide what to put in them. Mark said no trolls but that isn't much of a problem as I have plenty of other things! The trick is deciding what. I am also thinking I need to slide some white wallpaper in the back of the shelves because they are so dark. Something else to add to the project list. Yes, these are Billy Bookcases from Ikea. Yes, feel free to make fun of me because I like Billy Bookcases.

We just got an Ikea in the Kansas City area last fall which is an easy day trip for us. Yay? My aunt lives about 10 minutes from the Colorado one so I have been spoiled by leisurely making my way over on a Tuesday morning and then maybe hitting it again Thursday or Friday afternoon. You know, barely anyone goes to an Ikea in Denver on a Tuesday but apparently it is THE place to be in KC on a Saturday. Yikes! and it is small. Small for an Ikea.

The before shot of the corner:


and then painted and stained with lots of weird shadows on the window:


Wednesday, March 11, 2015

Waiting for the Stain to Dry

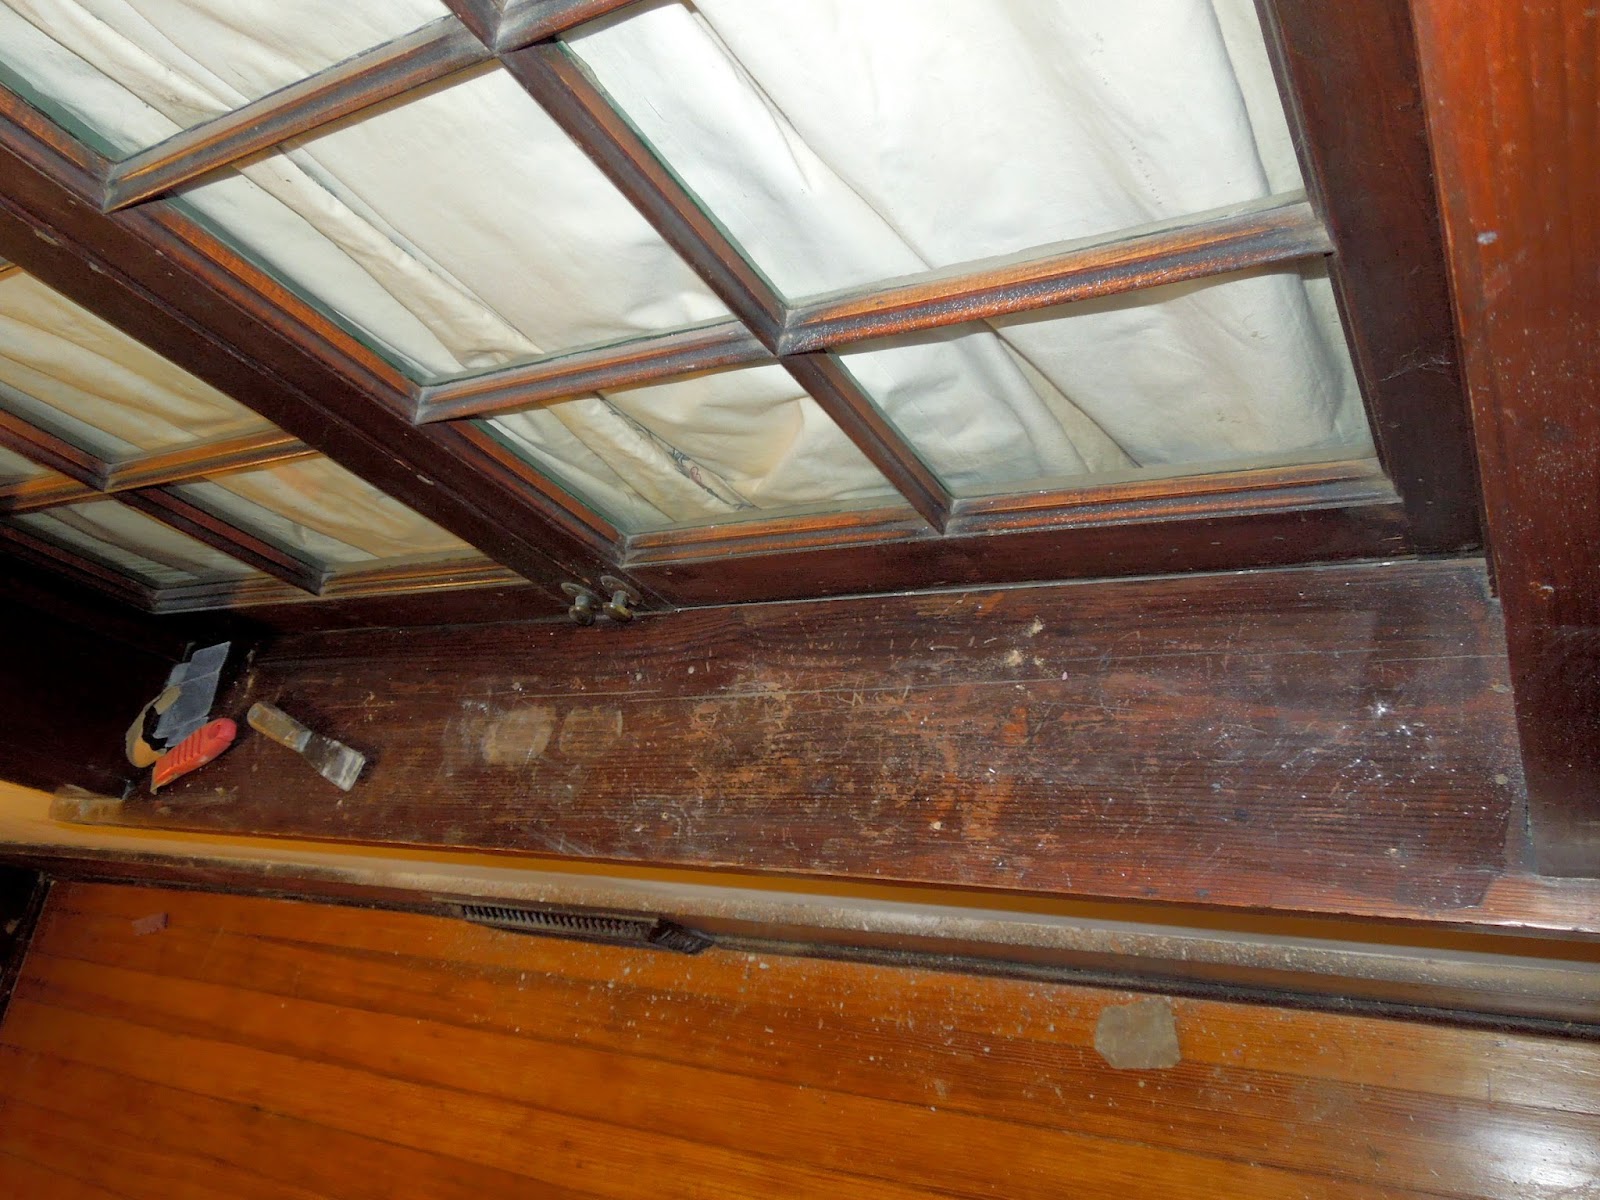
This section of wall is FINALLY almost to the easy part of painting. I have to layer the stain on thick to match so it takes a couple of days to dry to my satisfaction and then I can polyurethane and paint. A few before and in progress photos:

Yep, looks like 20+ year old masking tape on the bottom of the window sill to me! Also note, the paint is well past the masking tape and onto the front of the woodwork. Why did someone take the time to tape the edges if they weren't even going to try!? The paint scraped off just fine but that masking tape stuck tight. I just used my muscle (which isn't much!) and scraped until it came off. I suppose water and/or vinegar would have helped the process.

Next, above the tape:

Several plants? Drinks? had left their mark on the window sill.


Sanded.

The middle is still a little gloppy in the color as some of those weird stains were not going to come out without more sanding and only the soft sections of the wood sand. So, I either have a few dark stains or a wavy window sill. Which brings me to my next area of concentration. The woodwork by the door...

Bernie (previous owner's dog) or someone he knew, really wanted in and out ALL of our doors and this is the result around most of them. Someone tried sanding this out at one time with what looks like a power sander of some sort which took the soft (currently darker) wood away, leaving the lighter, harder portion of the wood. Bernie then probably immediately put these fresh scratches in but I'm not going to bother sanding them out. I hate changing out original woodwork but this piece is really messed up and gross so it is on my future project list.

Surprisingly, the scratches hid well. You can see the various wood heights on the grains though - especially up by the door knob! The door is another future project. Yes, I believe that is wood filler on the door. I'm telling you, this dog must have spent hours scratching on doors!

Sunday, February 22, 2015

Lost Window Reveal

OK, so the window wasn't actually lost per se, it's been at the end of the living room this entire time
but it has been stuck behind this floofy 80's curtain with the broken mechanism the entire time we have lived here.
I had to get rid of that huge track of a curtain rod so I could work on the wood trim but the window has some issues: it doesn't close tight and has no storm window. The curtains are insulated so they stayed. Also, our (enclosed) porch has some issues such as the husband's bike and a collection of plywood so no one wants to sit on the couch looking at that mess!

Yep, there is the plywood. Oh, I forgot I also added some plastic a long time ago as some additional insulation so the remains of that was also lurking behind the curtain.

I tacked the curtains on the outside of the window, which won't win any awards for attractiveness on either side, but it allowed me to get rid of the rod, keep the window draft-free and we don't have to look at the messy porch. Now I can admire my super nifty window...while I am sanding and refinishing it.

Here is my current area of concentration for plastering/painting. Ugh, so much white paint falling off down to the minty green paint! Latex on oil? is my suspicion. Or latex on cigarette smoke as it doesn't seem they scrubbed the green wall before painting from what I've been cleaning off of it. Yuck!!